Our story so far: The 20-foot ceiling in the sanctuary—our future great room—was the whole reason we were interested in the old Methodist church so we wanted it to look not just good but grand.
# # #
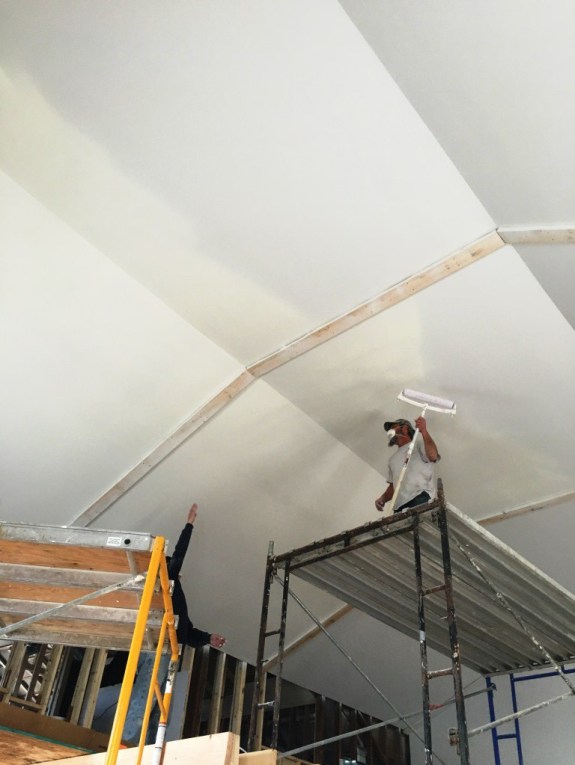
As long as the scaffolding was in place (and before we built the balcony), Tyler enlisted the drywallers to paint the sanctuary ceiling. As with the drywall, they were nothing if not efficient. They used a sprayer and an enormous roller to do the work. When I walked into the sanctuary to check their progress, it was like walking into fog; the process created an astonishing amount of airborne particulates. Hours later, a fine white dust covered everything in the room.
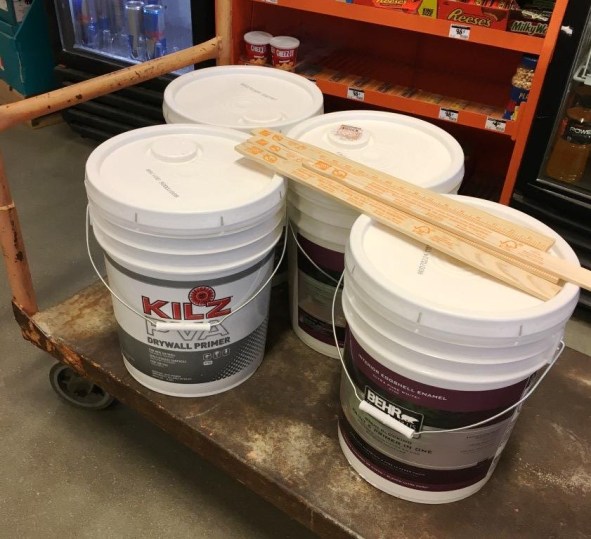
What color white? This was another detail that mattered. I didn’t want neon white—this was no hospital—so I chose Behr’s Sleek White in eggshell. It was that or Polar Bear, which had a grayish cast. I hoped I chose well.
How much paint is required to paint a church ceiling? Now we knew. We purchased ten gallons of primer and ten gallons of white paint. I couldn’t even lift the buckets! Then, two days later, I picked up two more gallons of paint so the drywallers could finish the job. Twenty-two gallons. That’s a lot of paint.
# # #
Tomorrow: Building a balcony begins with two steps. Read about it here.