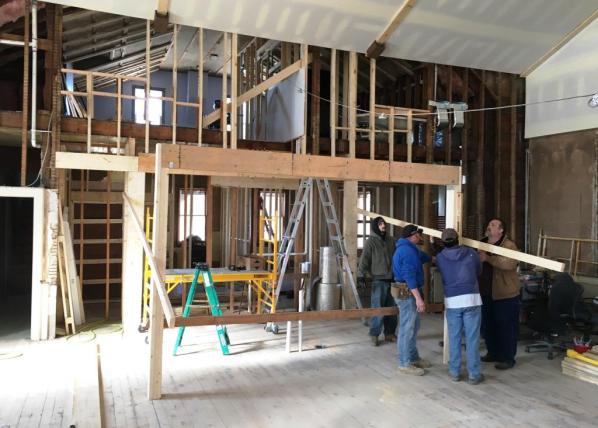
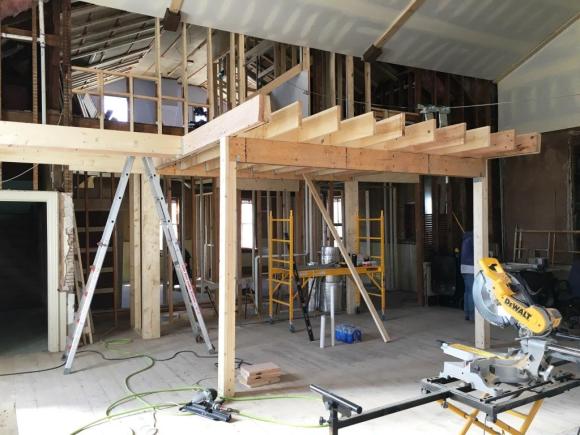
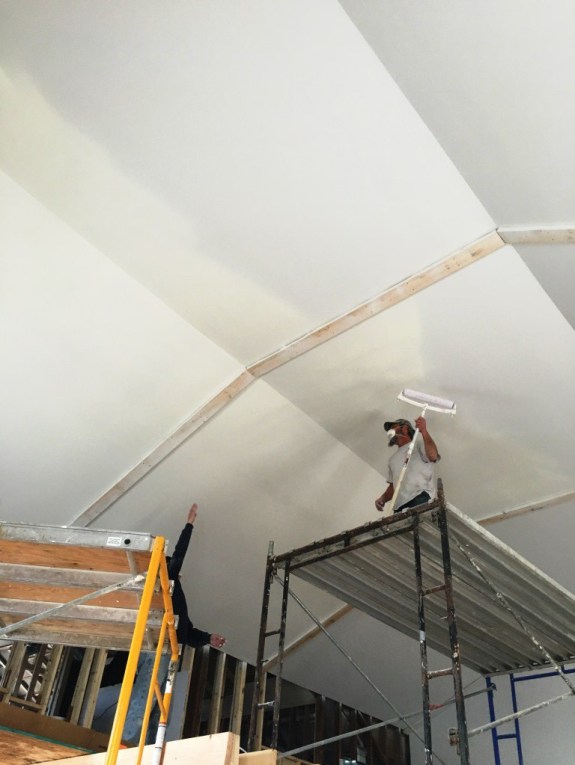
Our story so far: We worked on ceilings ad infinitum during the renovation of the 126-year-old Methodist church.
# # #
Before sealing up ceilings and walls, I got to install insulation.
The pink stuff.
This job required no expertise, only perseverance. So I got tagged.
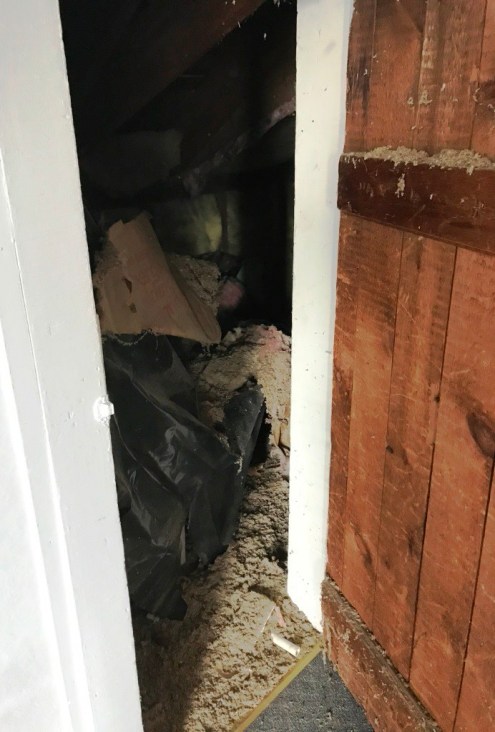
I suited up in Tyvek, safety goggles, gloves and a breathing mask, and set to work on the first area requiring insulation: The attic eaves.
It was like wrestling with Tyler if my king-sized husband were cotton candy—the insulation was bigger that I was, and there was no way I was gonna win this fight. I resisted, I poked and I punched when called for, and eventually I got the pink rolls stuffed between the studs.
The worst part was the height of the attic eaves—exactly short enough that I couldn’t stand and tall enough that I couldn’t reach the top when I was kneeling. I didn’t have quadriceps for this.
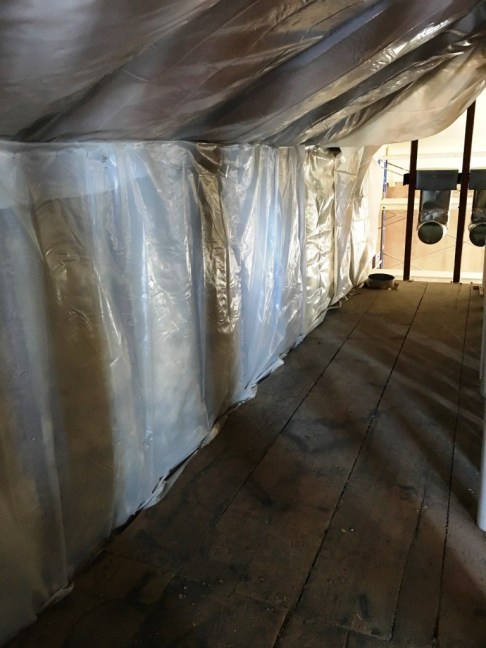
After wrestling with insulation for two days and thinking I was finished, I learned properly installed insulation requires a vapor barrier. So I spent an afternoon wrestling with plastic to cover the insulation and a staple gun (one of the few power tools I was comfortable operating).
When I finished, I was reminded of a mantra that circulated in the scrapbooking circles I once traveled. Scrapbookers rarely lack raw material because life and the photos one takes while living life keep happening. It can become overwhelming if one agonizes about every single detail on every single page so sometimes scrapbookers power through an imperfectly decorated scrapbook page just to be able to move on to the next one: Done is better than perfect.
# # #
Tomorrow: Oh, we’re not done with insulation yet, missy! Nosirree! Da-dum, da-dum, da-dum da-dum da-dum, da-dum da-dummmmm. Can you hear that saxophone? Read about it here.