Any insurance agent worth her salt is going to ask a few questions before insuring an older home.
When was the electrical updated?
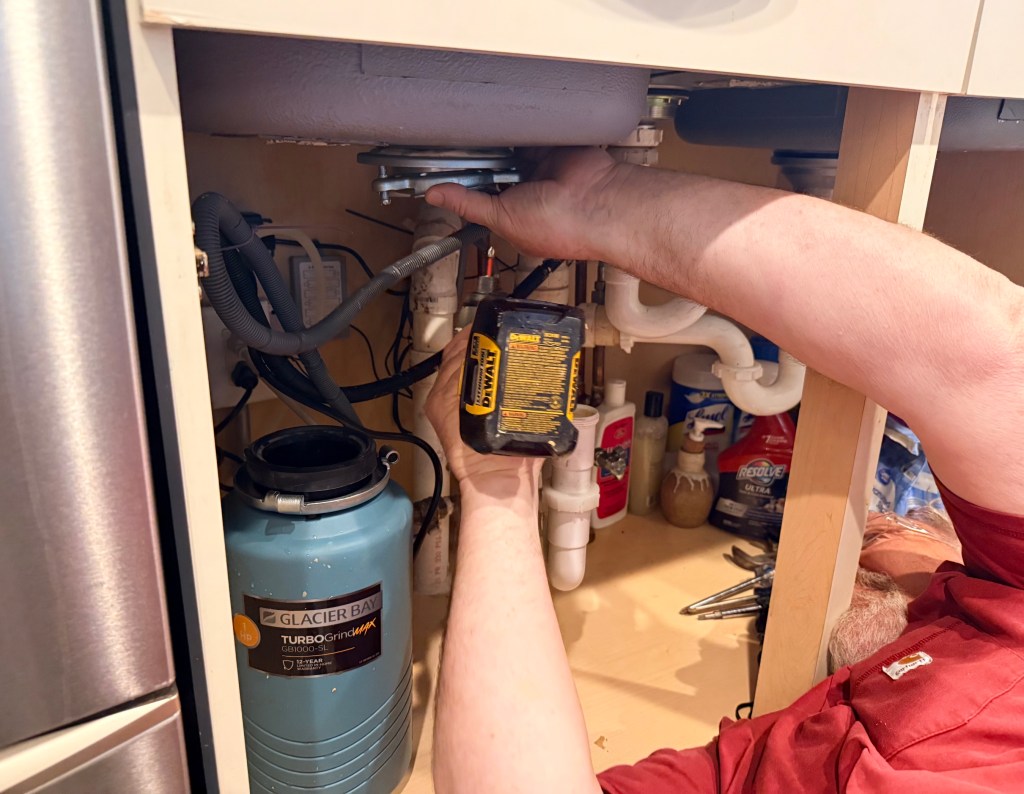
How old is the plumbing?
What about the HVAC?
And…how old is the roof?
I’ve been filling out a lot of insurance applications lately, so these questions have been on my mind. Naturally, I can answer every one of them for Church Sweet Home.
When we bought the church almost nine years ago (has it really been that long?), we updated all of the electrical and about 98 percent of the plumbing. The two furnaces in the basement were relatively new, so they got to stay. We did, however, add a massive air-conditioning system because, the old one would not have kept the sanctuary cool in July.
The roof, though? The poor roof had to wait.
There were only so many contractors we could afford at one time, and electricians, plumbers and HVAC technicians had already emptied our pockets. We knew the shingles were living on borrowed time, but they managed to hang in there.
Until the chimney tattled on them.

A couple of months ago we hired masons to tuck point the chimney because it was beginning to crumble and threatening to let water in. Since they were already 40 feet in the air—and had absolutely no reason to sell us a roof—we asked what they thought of the shingles.
They looked.
Then they poked around.
“Yeah,” they said. “It’s pretty bad.”
That’s about as unbiased an inspection as you’re ever going to get.
Tyler spent the next several weeks collecting estimates from what felt like half the roofing companies in southern Wisconsin. After comparing bids and asking more questions than an insurance underwriter, we finally signed on the dotted line.
And today was the day.
Naturally, the roofing crew arrived during a 90-degree day under an Extreme Heat Emergency.
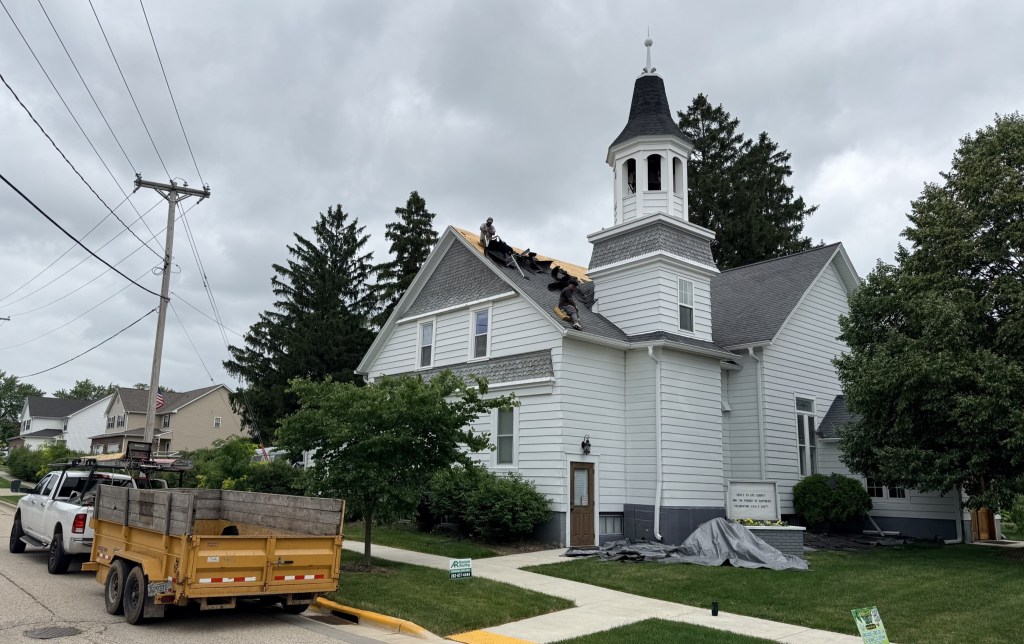

Two men spent the day on our black roof tearing off old shingles, replacing damaged plywood and preparing for a brand-new roof. I took a stroll outside a couple of times to check on their progress (and take a break from my computer). Tyler wisely supervised from the safety of ground level.
At one point he bumped into a neighbor who’s lived here for 30 years. The neighbor couldn’t remember ever seeing the church reroofed.
Which tells me two things:
- We weren’t imagining that it was overdue.
- We got every last mile out of those old shingles.
It’s exciting to see another major project underway. It’s also a little terrifying watching people work that high off the ground, especially in this kind of heat.
So if you’re the praying sort, would you say a prayer for the men working on our roof? Pray for steady footing, cool heads, plenty of water breaks and a safe trip home when the job is finished.

One more thing before I go…
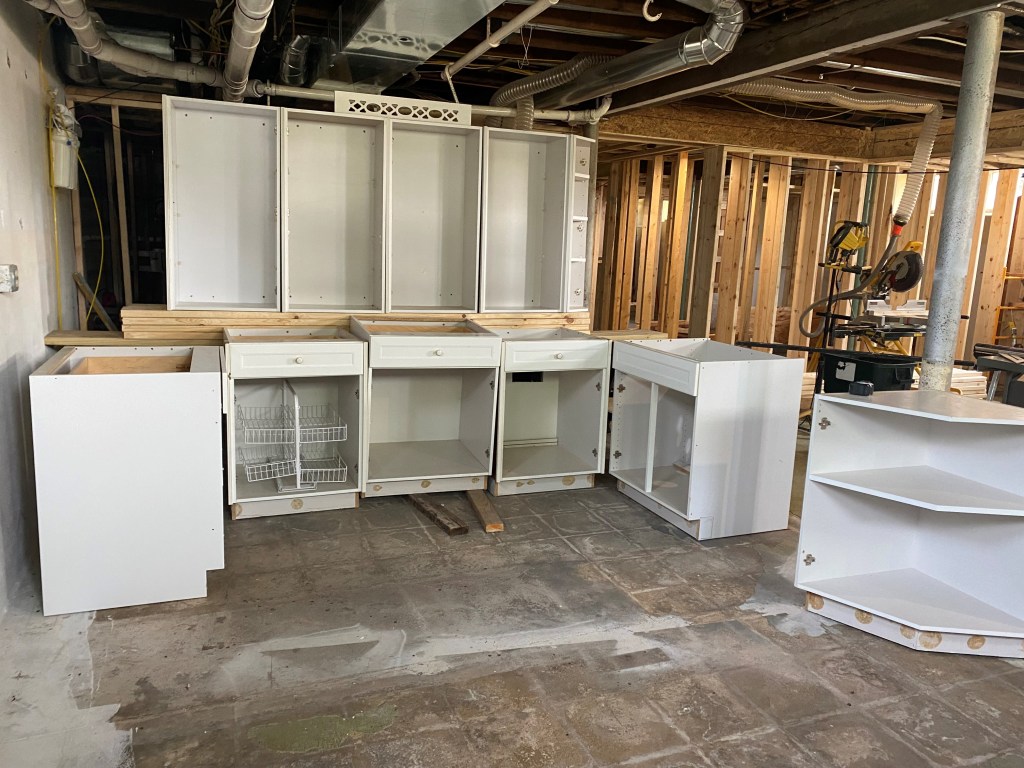
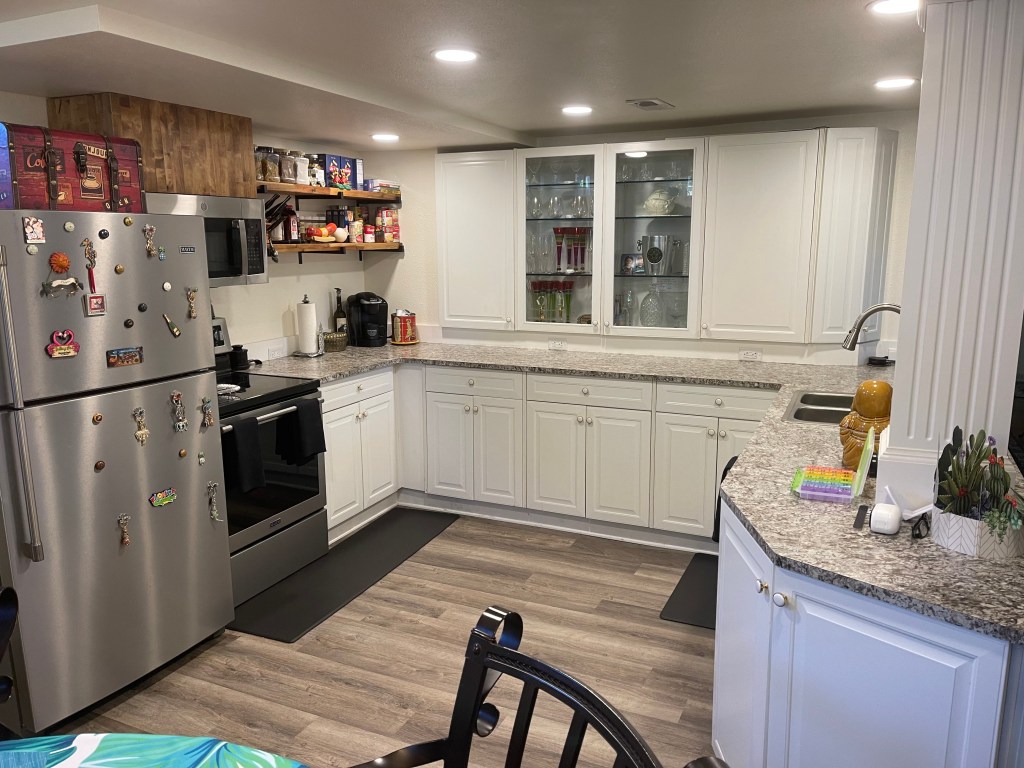
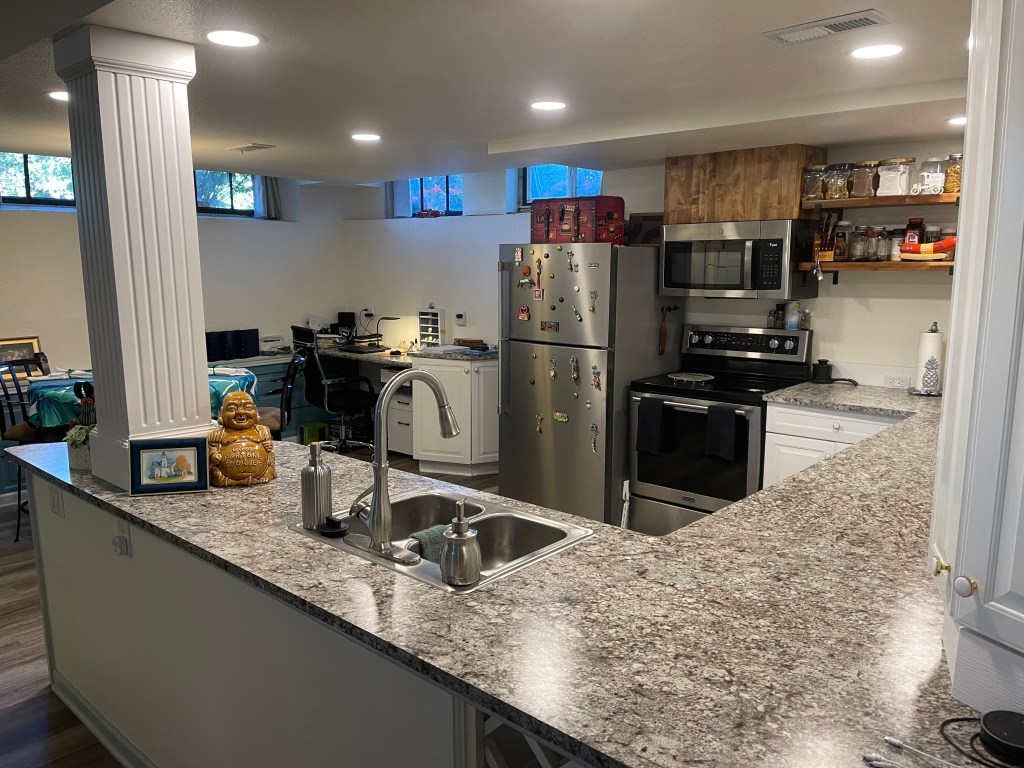
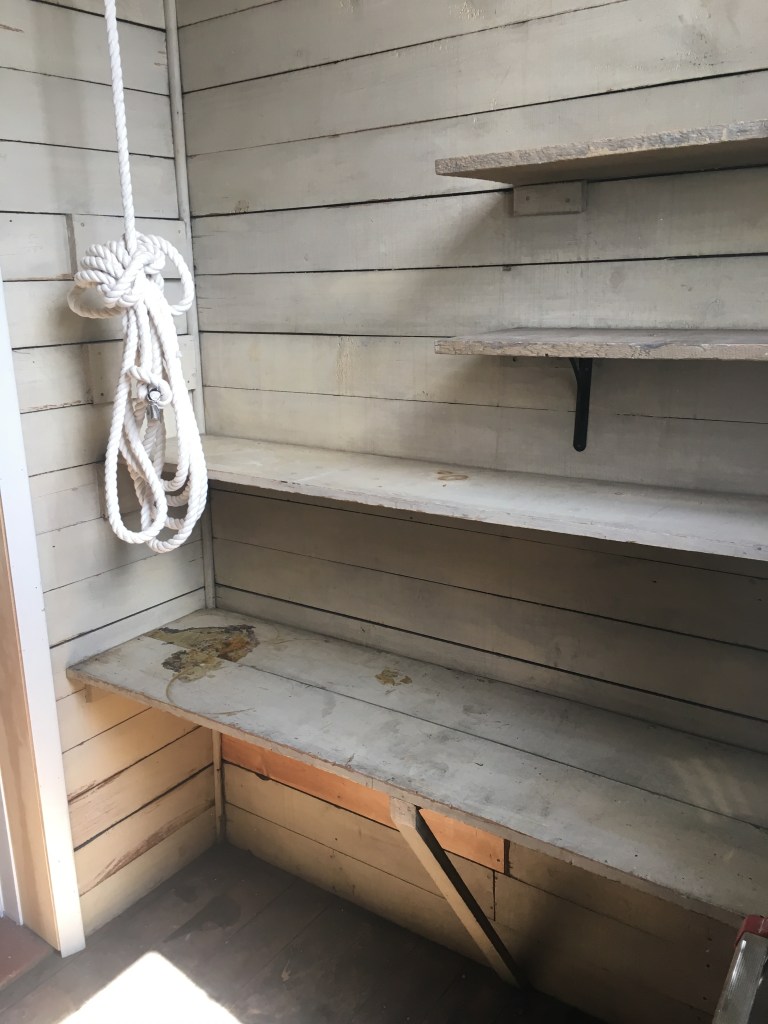
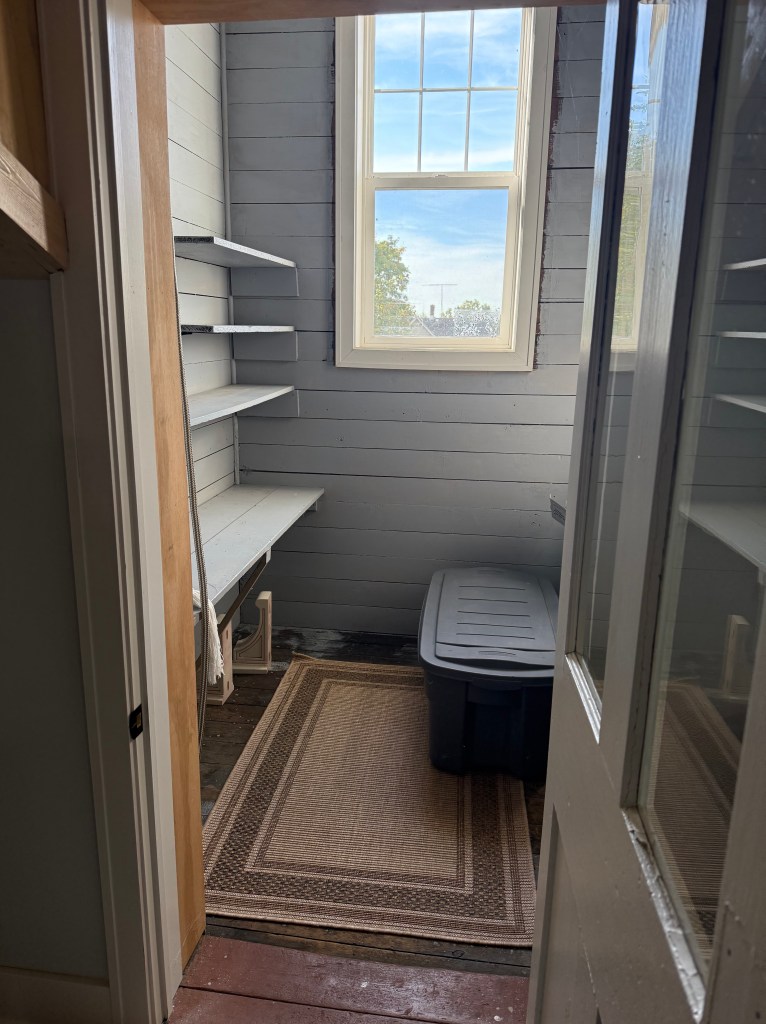
Tyler and I have also been plugging away on the belfry makeover I’ve been teasing for a while now. We’re not quite ready for the big reveal, but here’s a little sneak peek to tide you over.
More photos are coming soon!