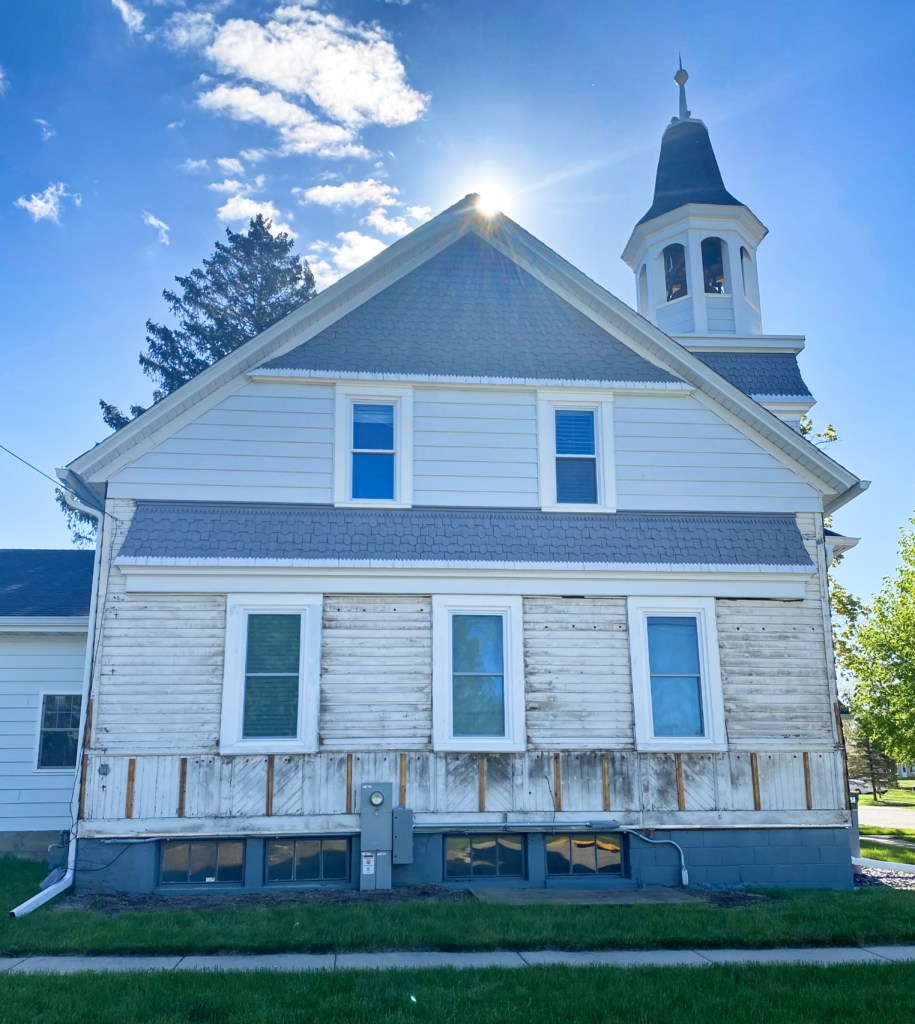
There are few things more humbling than owning a building where the best bathroom option is “technically functional.”
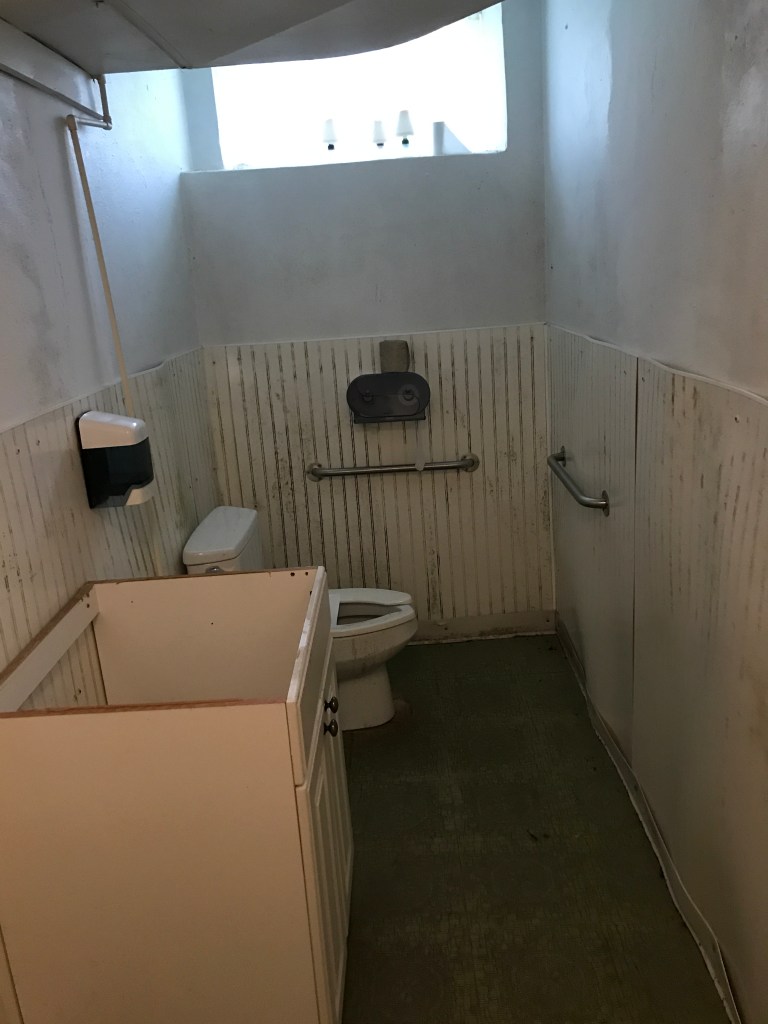
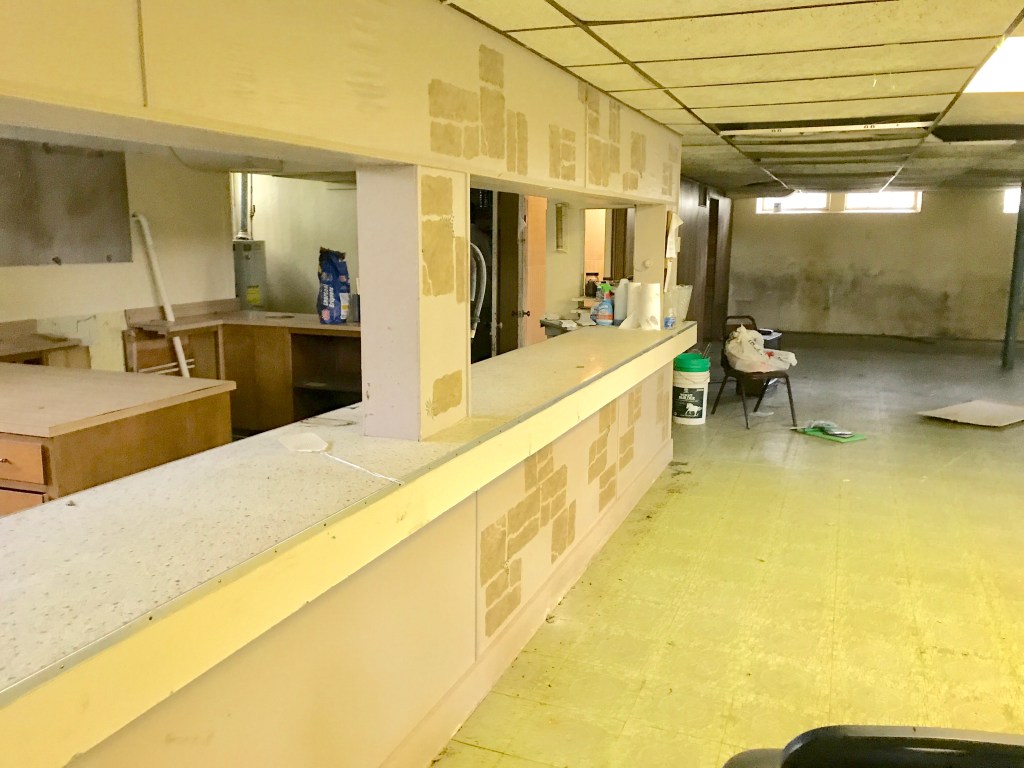
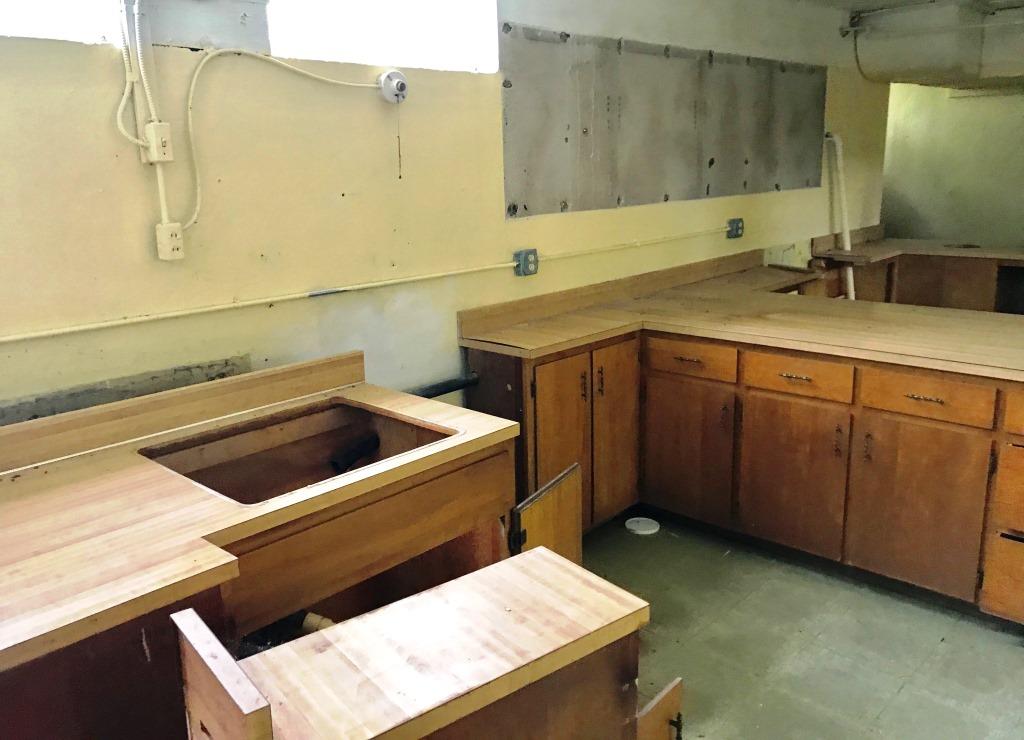
When we first bought the old church, the only operational plumbing in the entire structure was the basement toilet. The kitchen sink didn’t work. The bathroom sink didn’t work. But that lonely toilet soldiered on, faithfully serving in what can only be described as survival conditions. That wainscoting? Uff-da.
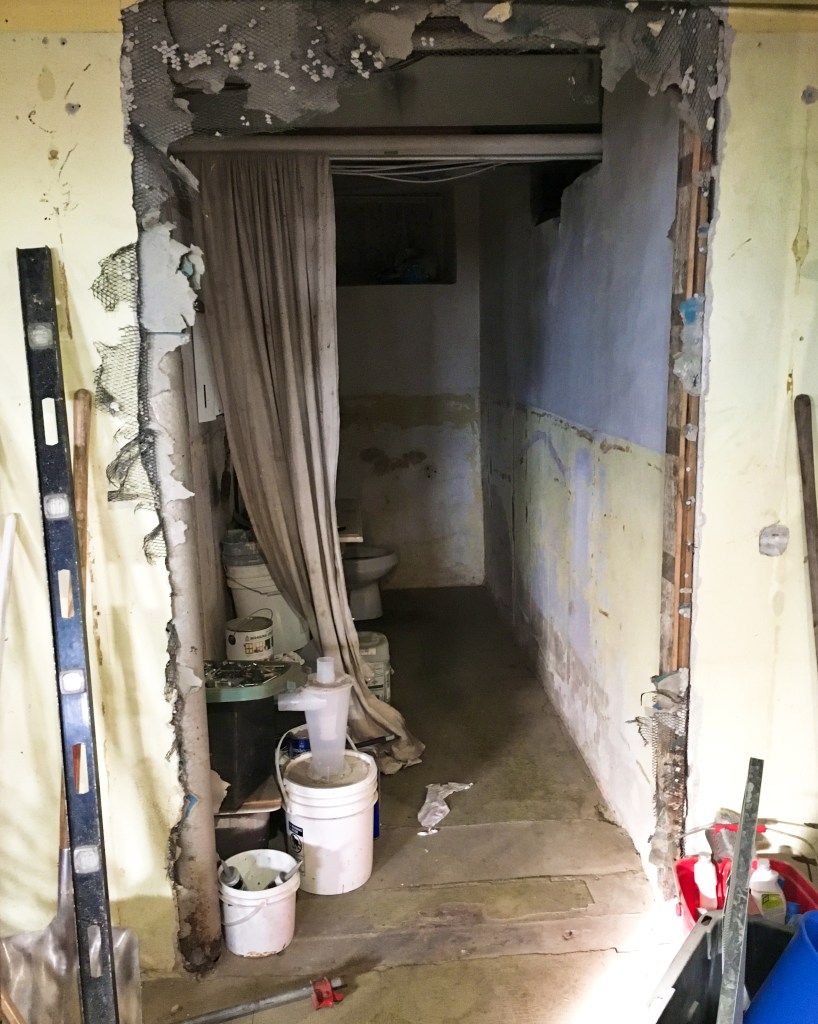
The basement bathroom itself was the sort of room that inspires little girls to cross their legs and little boys to head for the bushes outside. Dark. Damp. Questionable. The kind of place where you half expected to hear ominous music for no particular reason.
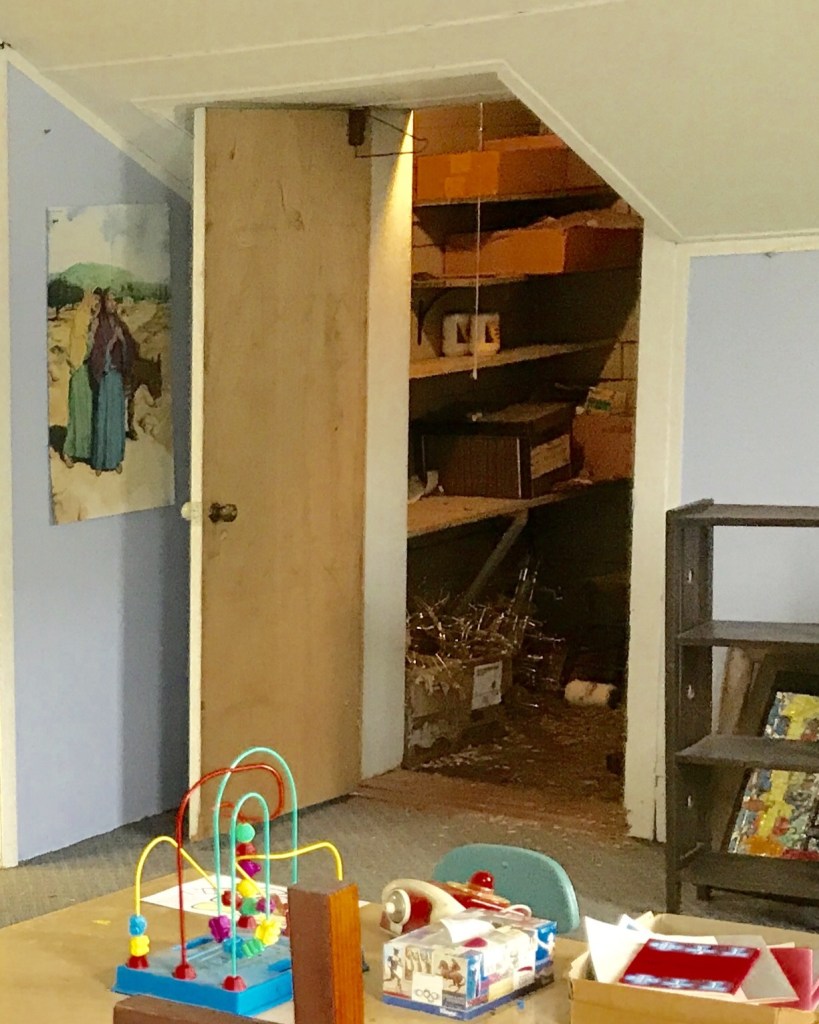
Originally, the room was L-shaped, but we decided to close off the original entrance in order to build a shower into that narrow section. That meant creating an entirely new entrance through one of the church’s famously thick walls. And by “creating,” I mean spending an entire day hammering, chiseling and questioning our life choices.
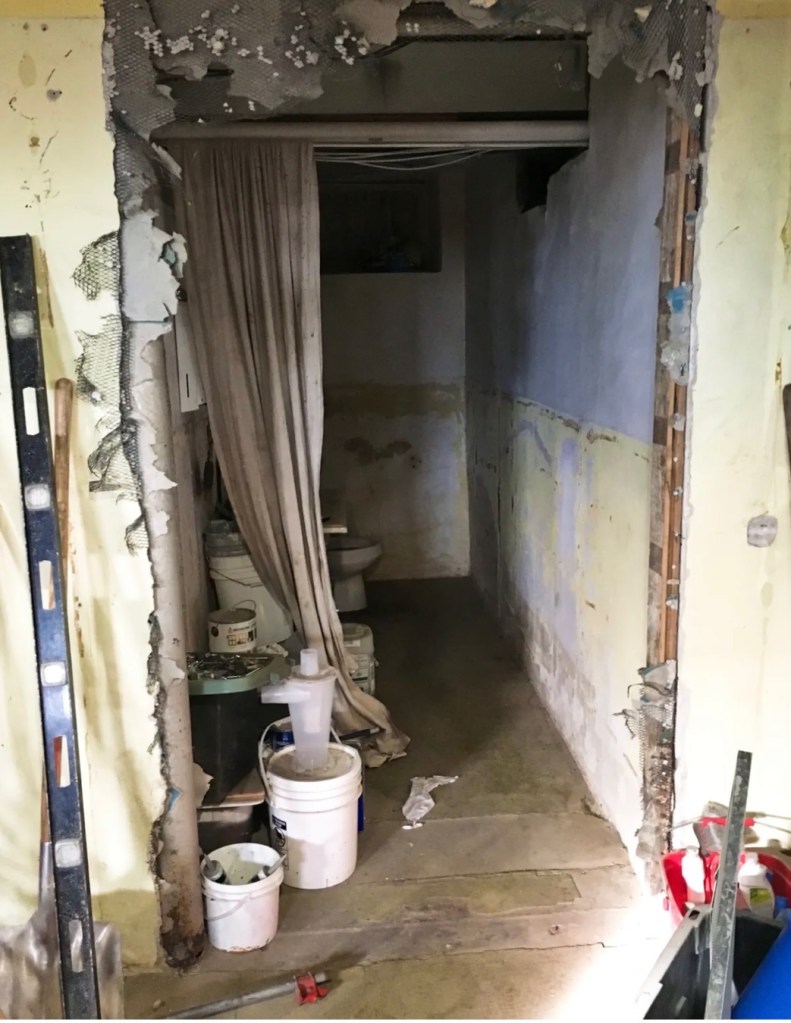
Naturally, breaking through the wall somehow made the room look even scarier for a while. At one point, the only thing separating the toilet from the rest of humanity was a drop cloth hanging as a makeshift privacy curtain. Very spa-like, if your preferred spa aesthetic is “midwestern horror film under renovation.”
I can assure you, I never actually used the bathroom in that condition. Still, it served an important purpose: at least we didn’t have to rent a porta-potty for the contractors.
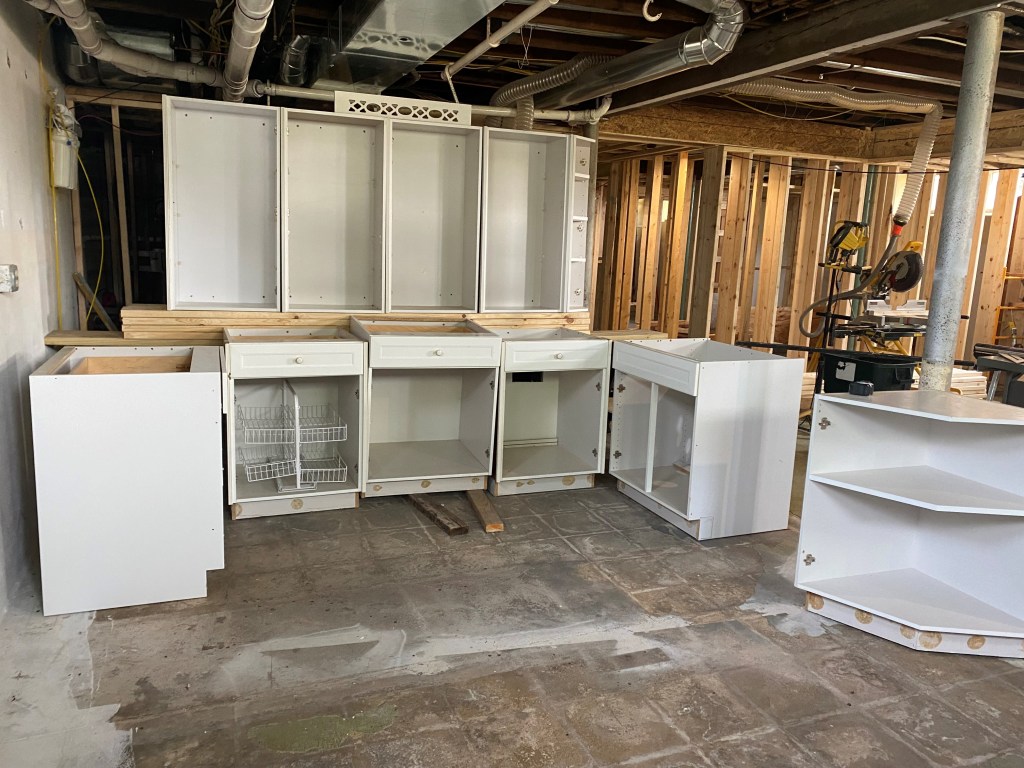
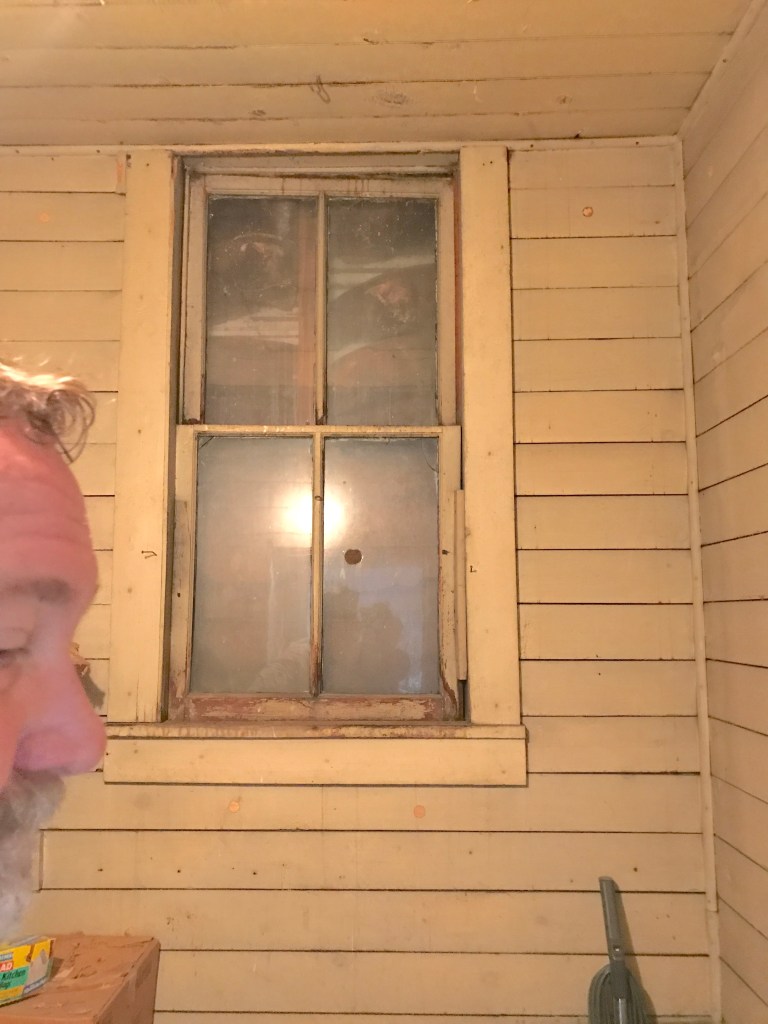
Later, when we built the garage behind the church, the bathroom window disappeared entirely. For a while, the room was dark, dank and ugly enough to lower morale simply by entering it. But as we’ve learned repeatedly during this renovation adventure, expertly installed drywall and good lighting can perform minor miracles. Also, a new vanity, courtesy of Facebook Marketplace.
Well, that and paint. Trim. And flooring. And a serious scrub brush.
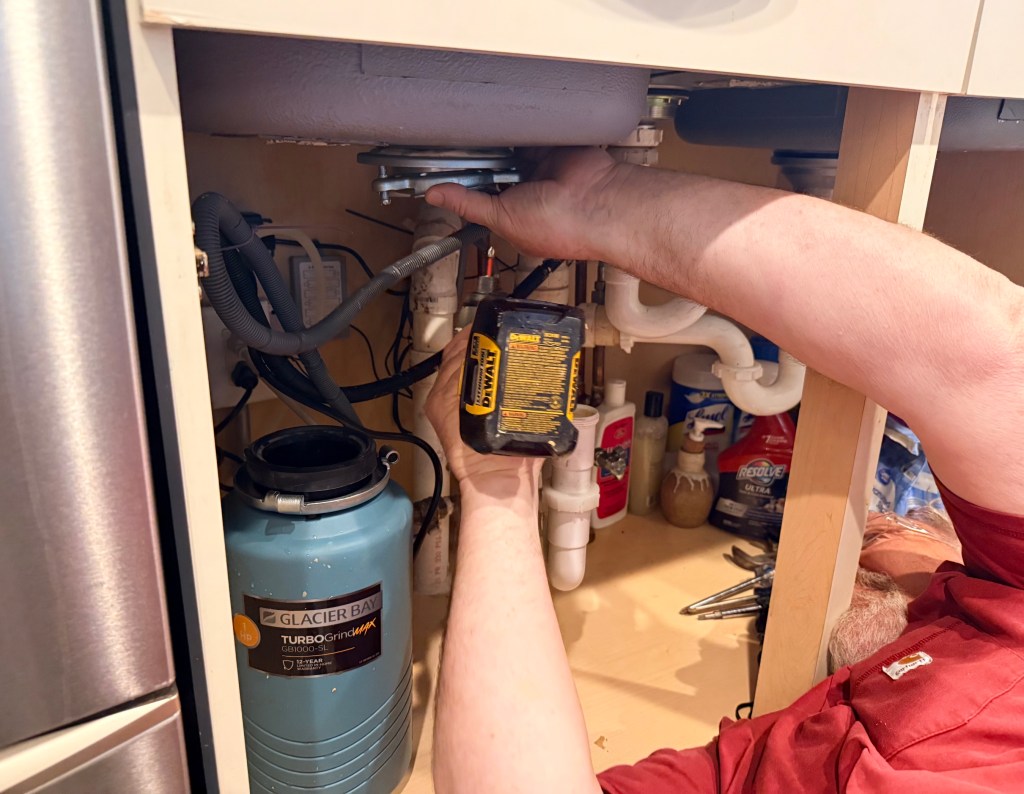
No scrub brush could redeem that toilet. While functional, it had to be replaced, too.
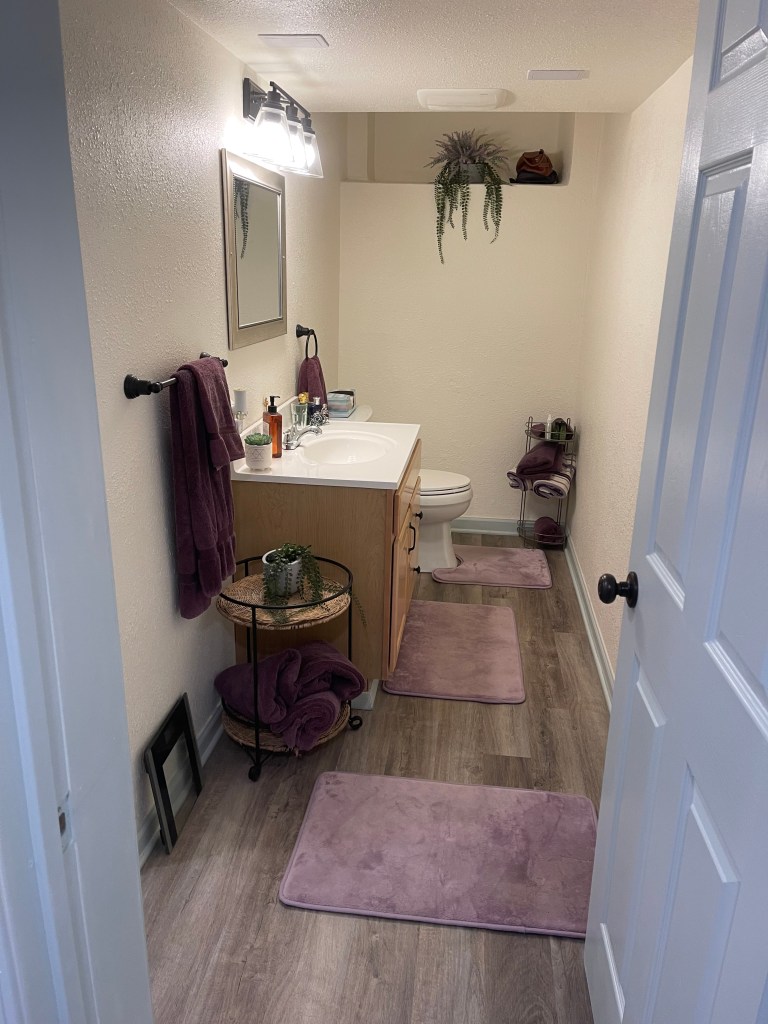
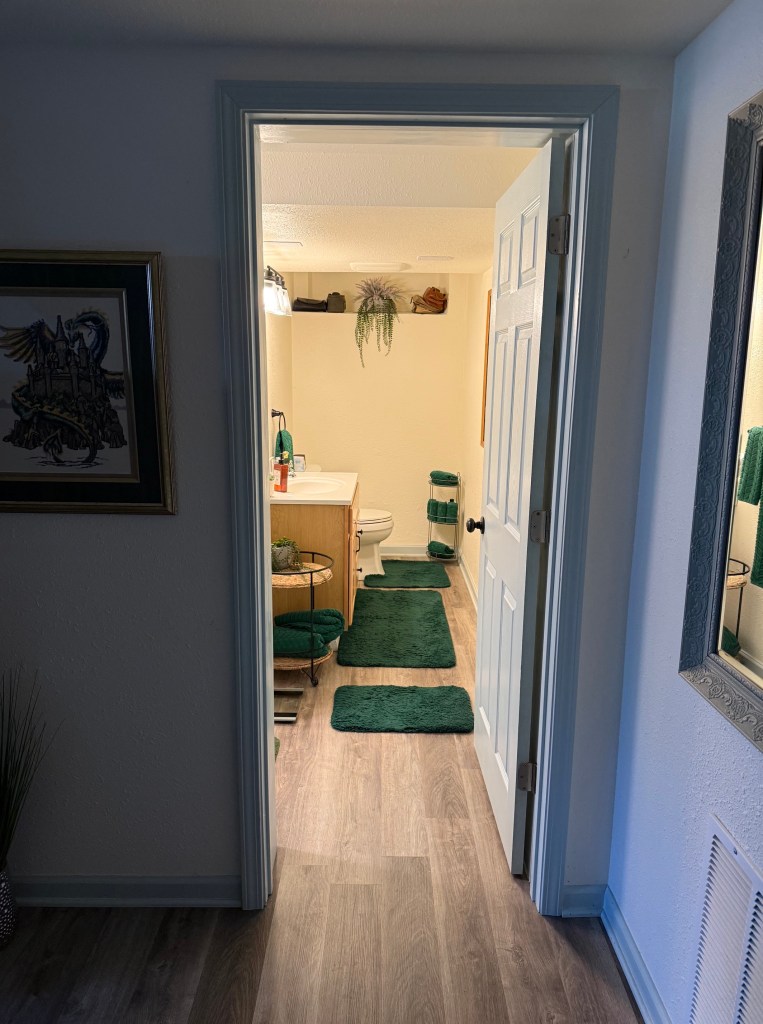
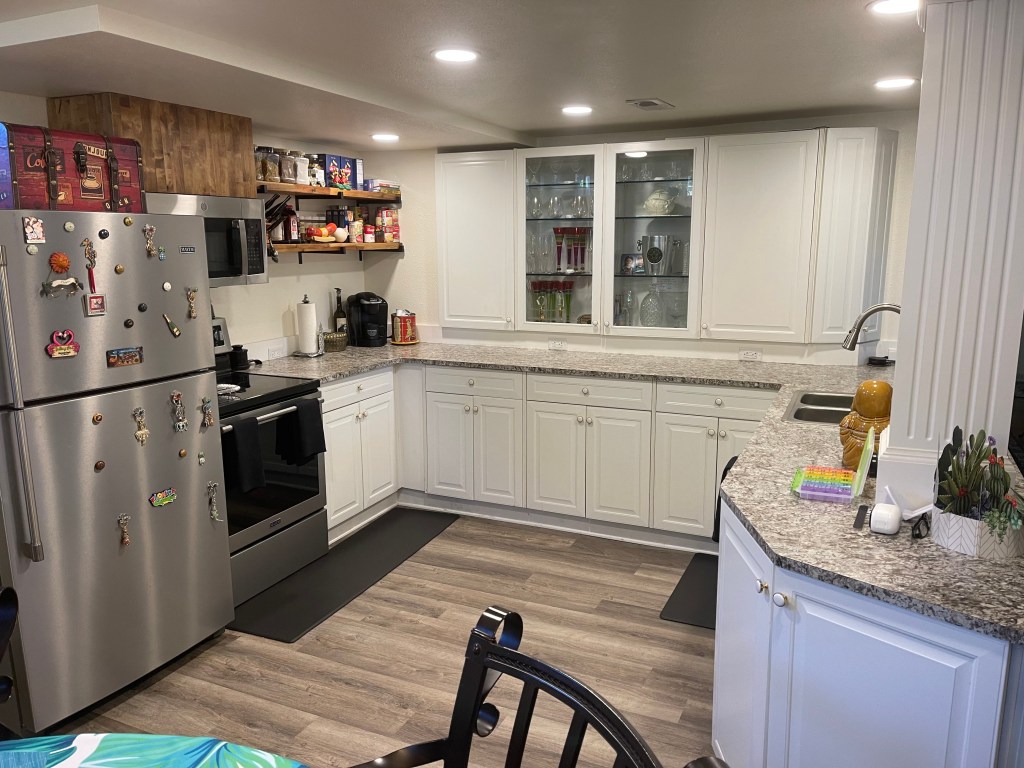
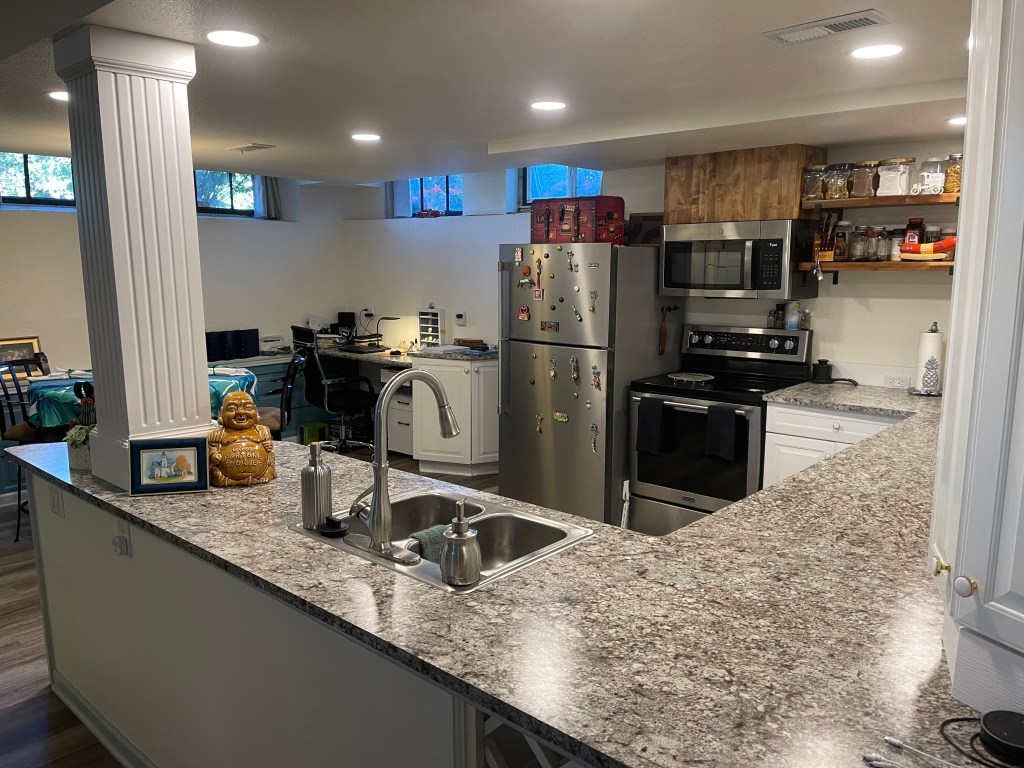
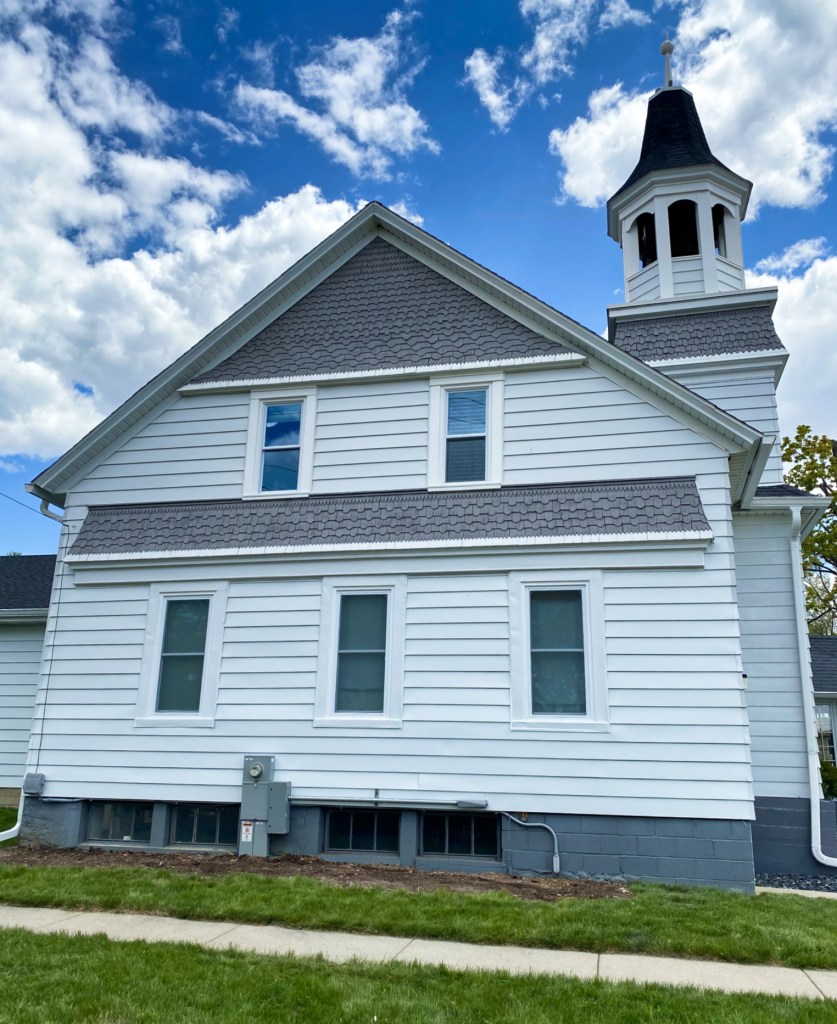
Today, the basement bathroom is clean, bright and completely respectable — proof that even the most frightening little corner of an old building can be redeemed with enough vision, elbow grease and willingness to chuckle about what came before.